Hang with clips

What you will need: paper or fabric as backing (optional), clips (I personally prefer gold ones) and nails. Nail into the wall as you normally would to hang a photo. Clip the clip onto the center of the paper, then hang the clip on the nail.
I love this because it’s simple and unique, easy to switch out, and doesn’t require a frame.
Hang with clothespins:

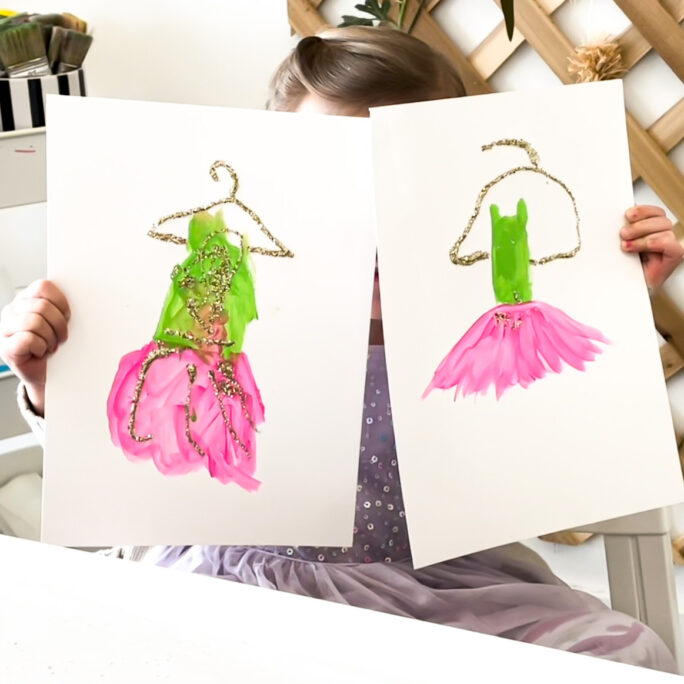
What you will need: Nails, string, twine, or ribbon, and clothespins. You can use this for kids art (as pictured above) or make it more sophisticated to match your decor with twine or spray painted mini clothes pins.
I love this option because it makes artwork very easy to switch out. The perfect way to display kids work or your own work when you create a lot and want to rotate it easily.
Hang on wooden backgrounds:

What you will need: Wooden panels, 5 nails per artwork, and some sort of picture hanger hardware for the back. I could tell you more or I could direct you to the guru who came up with this at Twelve on Main.
This option is a great way to make a blend of work seem cohesive and sophisticated.
Cork Board Wall:

What you need: thin plywood backing, cork squares, screws, adhesive. To read more visit Young House Love for their tutorial.
I really love. this option for modern spaces because it gives a warmth and cozy feel to an otherwise stark space.
Acrylic Frames:

This option is something you could DIY or buy. Here’s a link to the DIY from a blog called @HomewithAshley. Here is a link to an acrylic frame option.
Do you have any creative DIY ideas for hanging your work?